


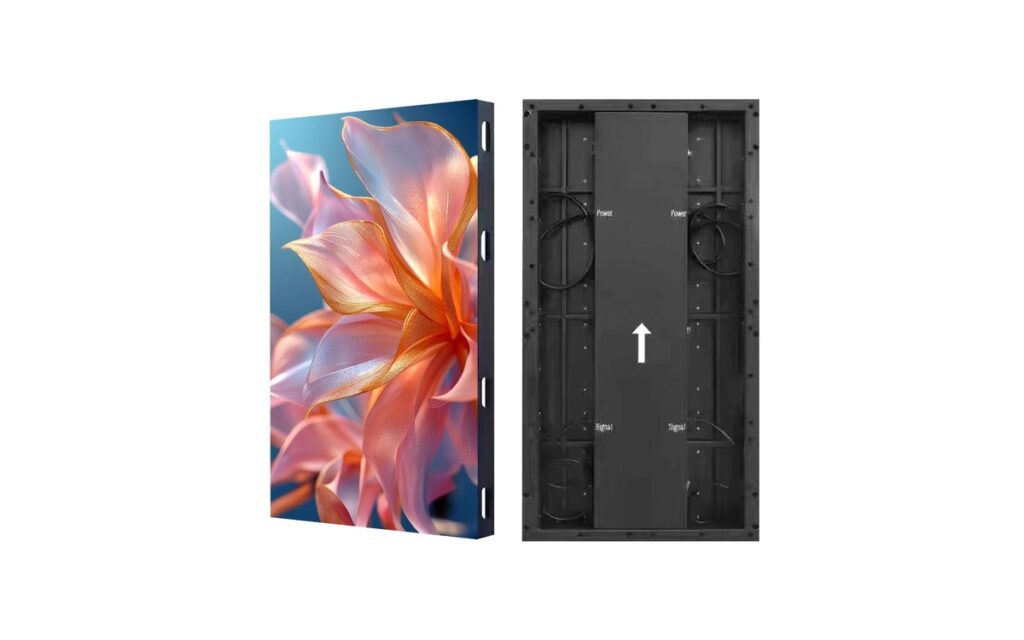
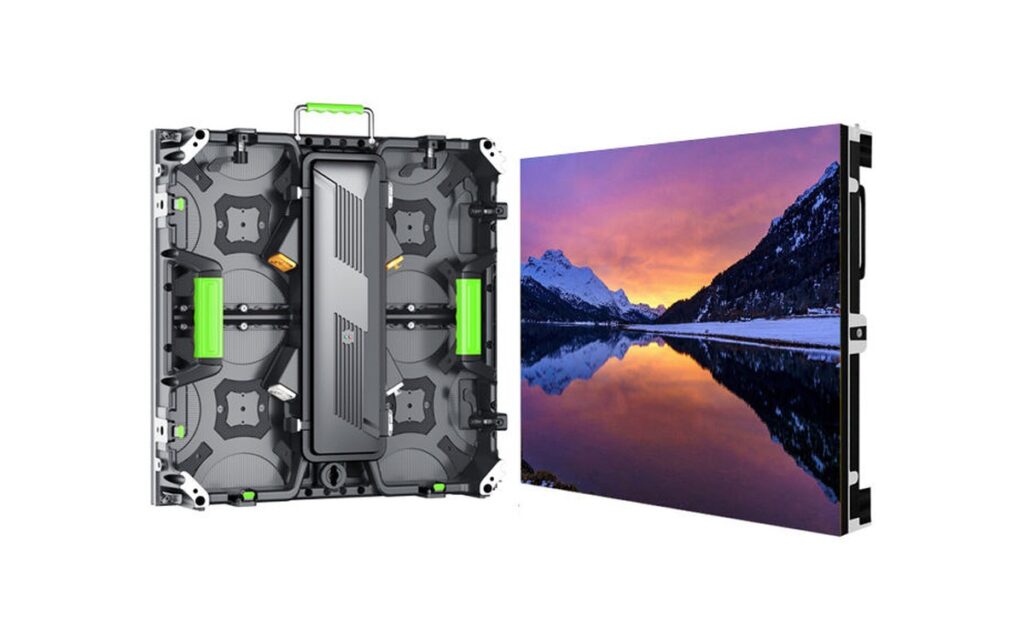
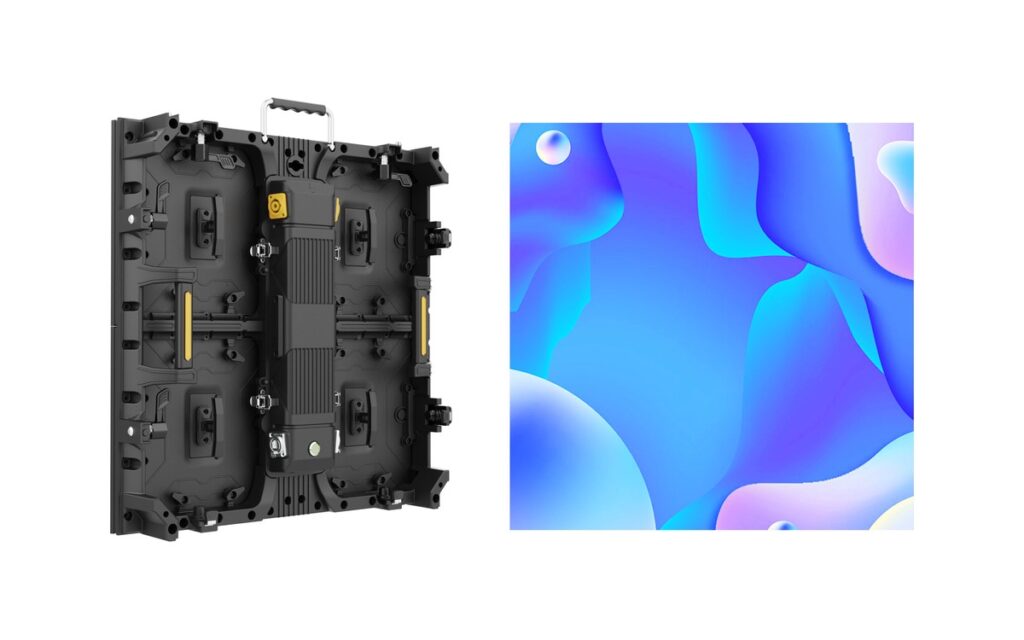
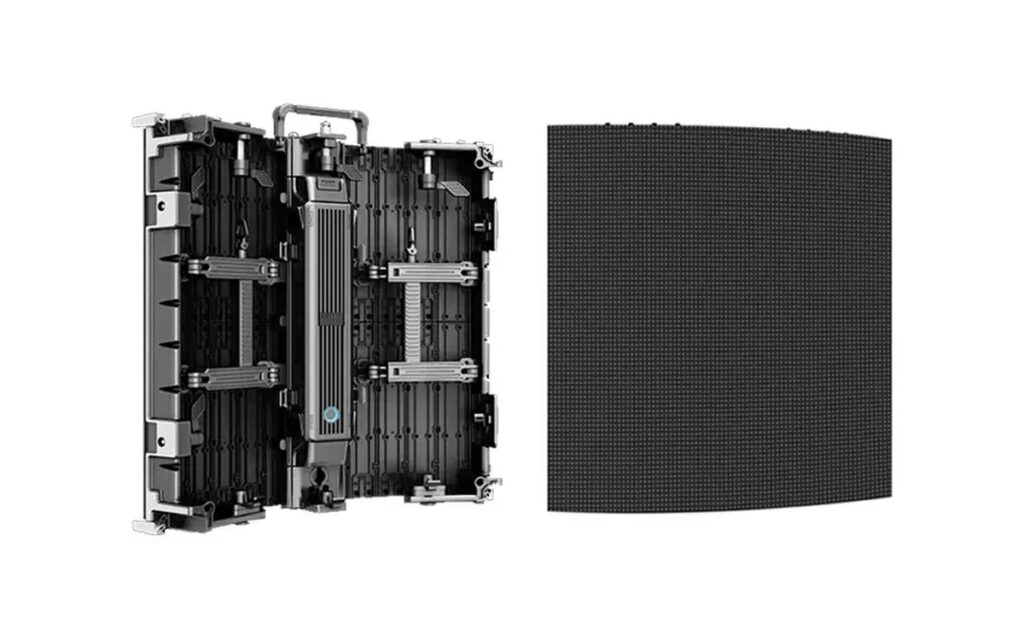
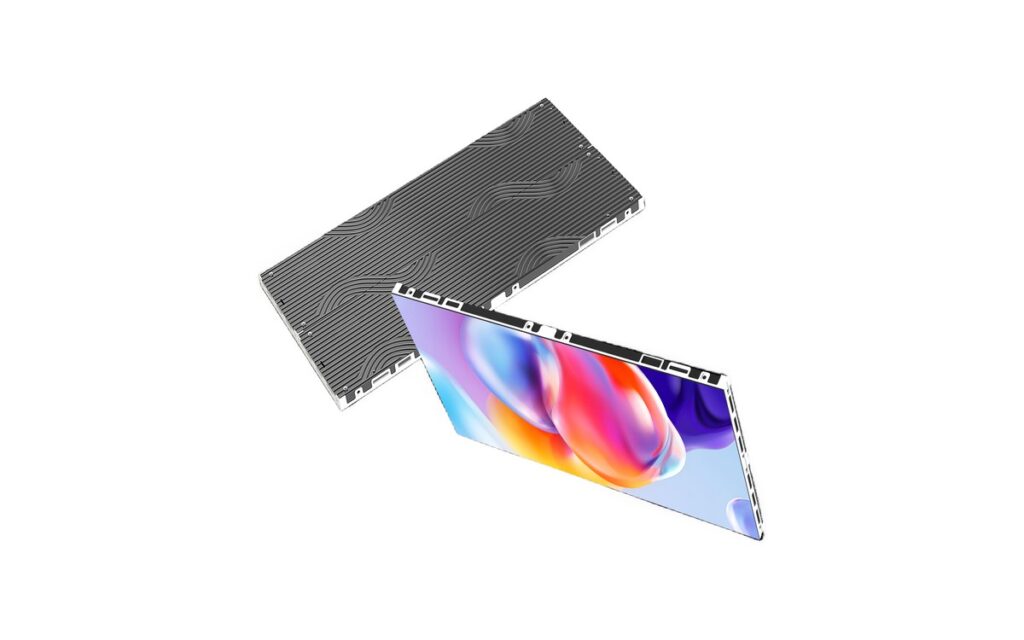
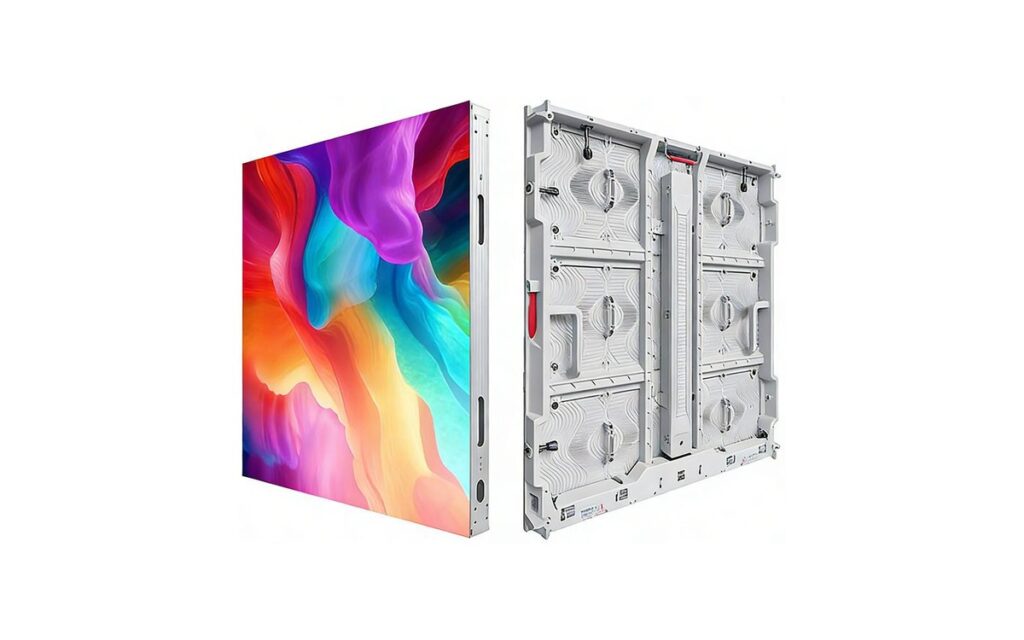
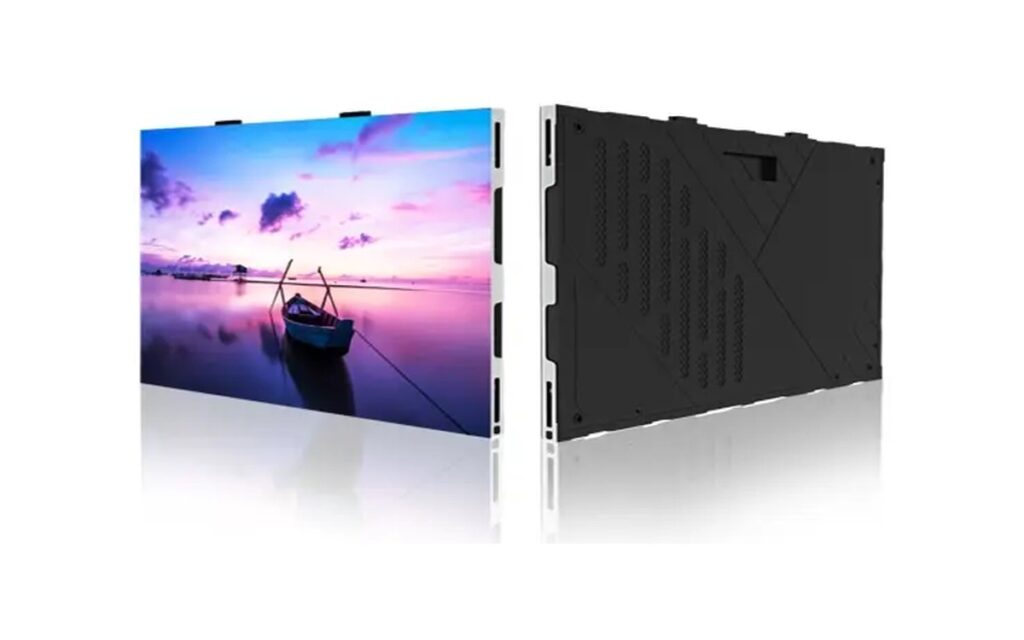
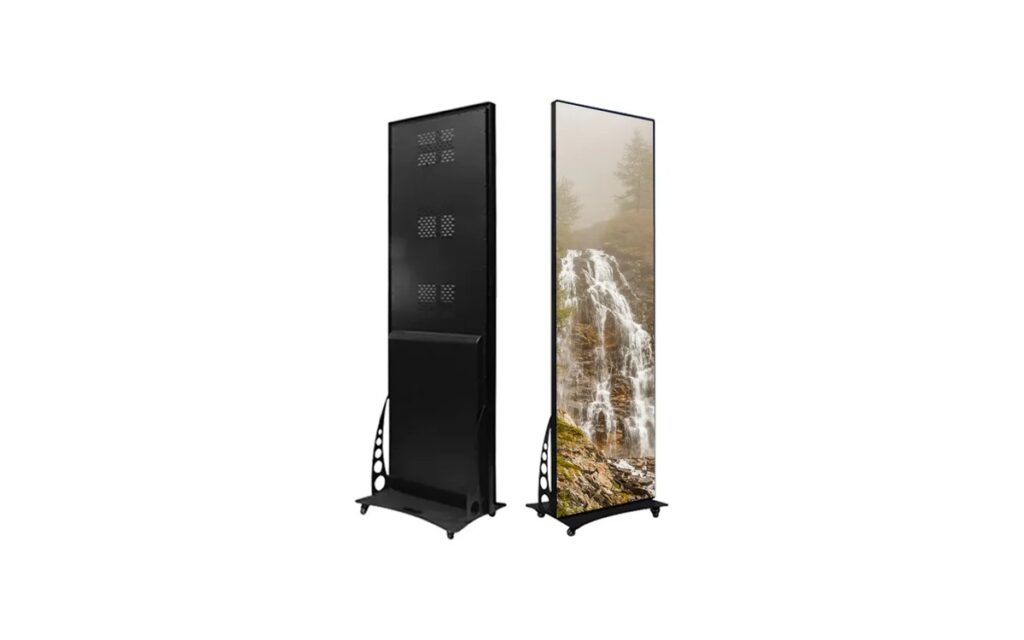
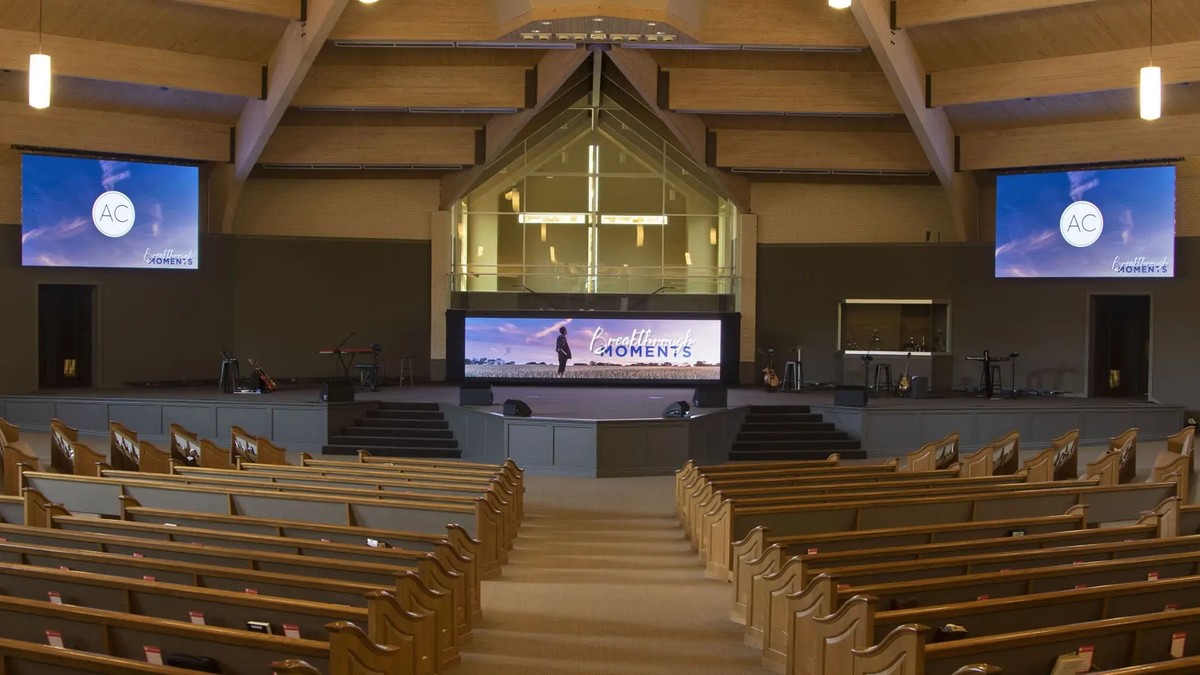
A church can buy a screen that looks impressive on the stage and still fails in daily use. The first warning sign often appears during the opening service: viewers in the balcony cannot read lyrics, people near the front see visible pixel structure, or the screen blocks part of the stage set.
The same issue affects AV integrators and contractors. A specification that works in a conference room may not work in a worship space with steep seating, strong stage lighting, multiple camera angles and changing content. Before comparing cabinet sizes or product names, review the room, viewing distances, content, lighting and installation method.
This guide covers the planning decisions that shape a reliable church display, from the main screen and side screens to phased purchasing. For a broader system view, review LINEX Tech’s church worship solutions alongside the display specification.
Start with the room, not the screen
Begin with a simple site survey. Record the sanctuary length, stage width, ceiling height, seating layout and the distance from the screen position to the nearest and furthest regular viewers. Include balcony seats, side aisles and any areas where people may stand during worship. A screen sized only for the center seating block may leave a large part of the room with a poor viewing angle.
Screen width should relate to the furthest viewer, not only to the stage. As a loose starting point, some designers use a main screen width of roughly one-third of the distance from the screen to the furthest regular seat. That is only a planning reference. Lyrics, presentation slides and live camera images have different readability needs, so test the intended content at the back of the room before finalizing the size.
Stage width also matters. The main screen should feel proportionate to the stage rather than appearing narrow between lighting trusses or oversized above a small platform. Measure the usable wall or rigging width, including space for structure, service access and cable paths. If the church expects side screens later, reserve room for them now so the first installation does not restrict future expansion.
Check vertical sightlines from the front row through the balcony. The bottom of the screen should not hide speakers, lecterns or performers, while the top should remain visible from higher seating. Screen height, stage elevation and camera framing need to be reviewed together. A screen that is technically large enough may still be poorly positioned if the front rows must look sharply upward.
Pitch and brightness for worship spaces
Pixel pitch is the distance between LED pixels. A smaller pitch normally supports closer viewing, but it also affects cost, processing requirements and the level of detail visible in the image. For many mid-size indoor sanctuaries, P2.5-P4 is a practical range. If the first rows are close to the screen or the display will show detailed camera images, P1.9-P2.5 may be considered. The final choice should come from the actual seating plan and a viewing test, not pitch alone.
Brightness should match the sanctuary’s lighting rather than simply being set as high as possible. Many indoor installations are planned around approximately 800-1,200 nits, but the suitable level depends on daylight, stage fixtures, dimming conditions and content. Excessive brightness can make worship visuals uncomfortable, while insufficient brightness can cause the image to lose contrast during a bright service. Confirm the usable range against the datasheet and, where possible, test under real lighting conditions.
If the church streams services or records events, refresh rate becomes important. A specification around 3,840 Hz is commonly requested for video-facing LED displays because it helps reduce scan lines, flicker and banding on camera. The receiving card, processor, shutter settings and camera system also affect the result, so the complete signal chain should be tested before approval.
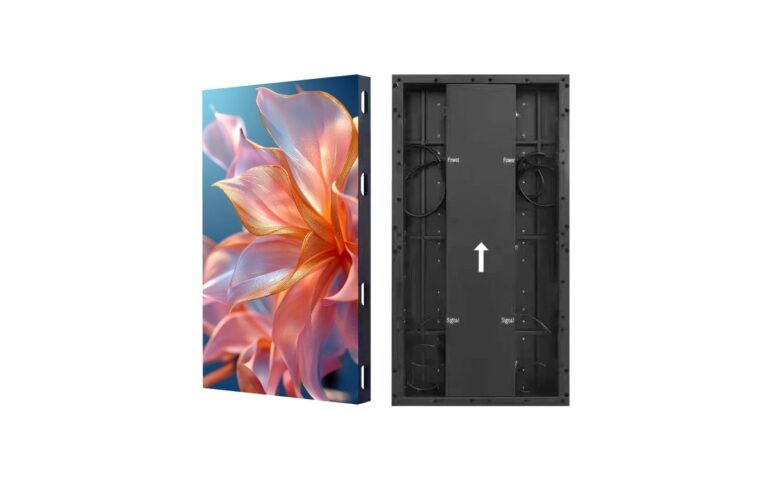
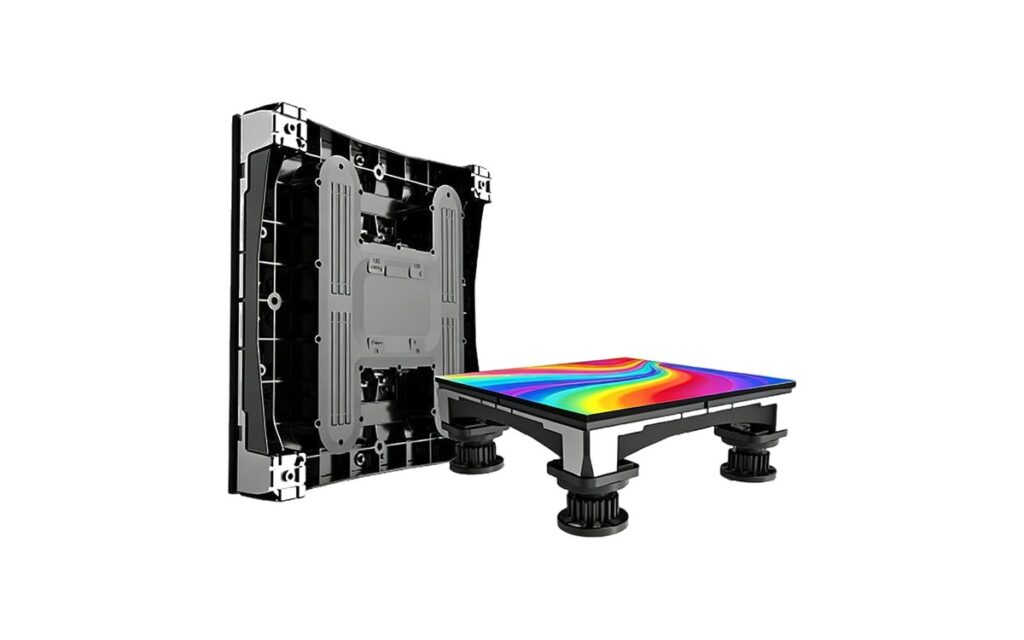
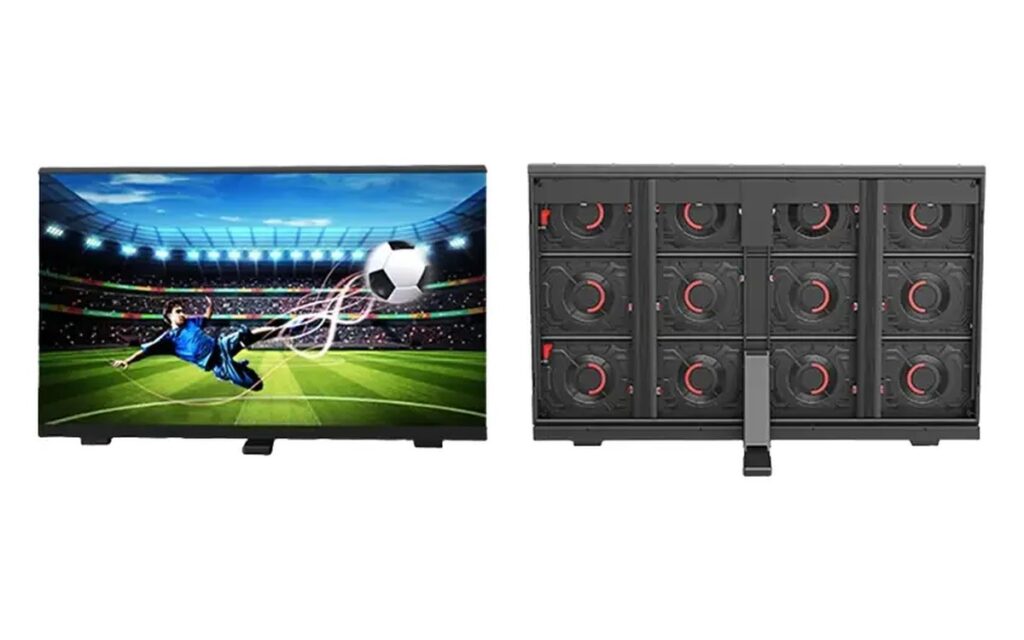
When reviewing an indoor fixed display range, compare more than cabinet pitch. Check viewing angle, grayscale performance, front or rear service access, module replacement and processor compatibility.
What churches ask about budget
Church display budgets are shaped by more than the LED cabinets. The main cost drivers usually include screen area, pixel pitch, cabinet construction, mounting structure, power distribution, processor and sending equipment, installation access, commissioning and spare parts. A screen that requires difficult lifting or custom steelwork may carry a different project cost from one installed on an existing wall or prepared frame.
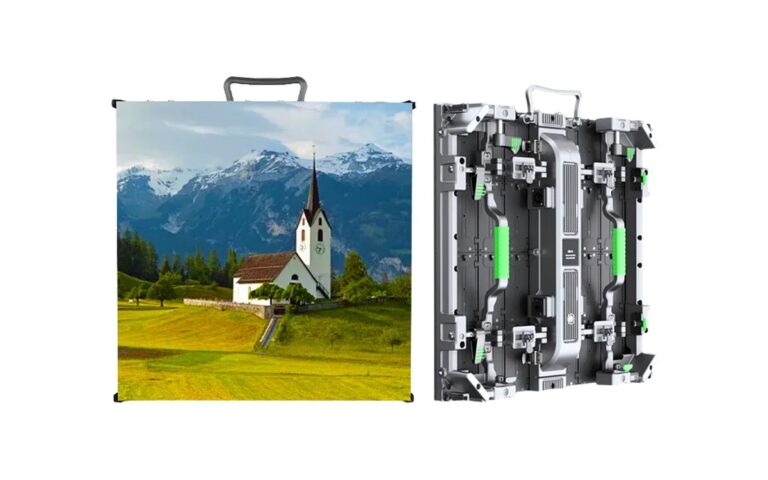
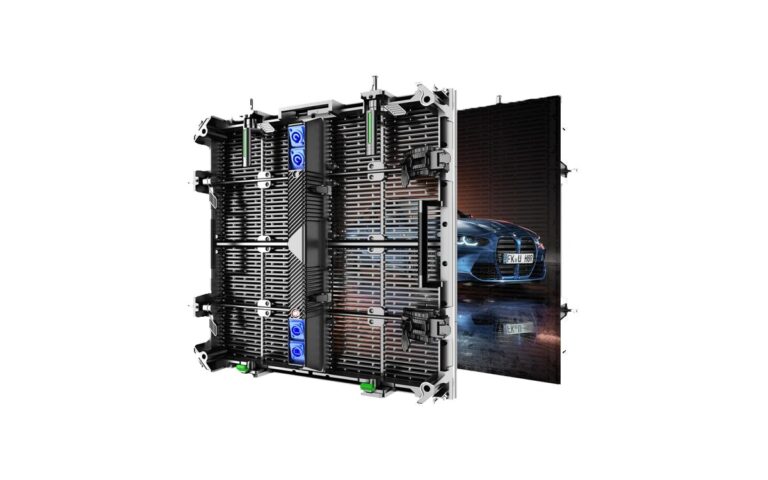
Installation method should be agreed early. A fixed wall-mounted display may suit a permanent sanctuary, while a flown structure or rental-style cabinet may be more appropriate where the layout changes. Service access also matters. Front-service cabinets can simplify maintenance where the rear of the screen is close to a wall, while rear access may be preferable when there is a dedicated service corridor.
Many churches phase the purchase. A center screen can establish the main worship and presentation system first, with side screens added later when budget and room usage justify them. This approach works best when the processor, power design, mounting structure and control system are planned for the full layout from the beginning.
| Screen type | Typical use | Where it works best | Notes |
|---|---|---|---|
| Center stage screen | Lyrics, sermons, presentations and live IMAG | Main sanctuary focus position | Usually the first phase of a larger display system |
| Side screens | Lyrics, confidence content and overflow viewing | Wide rooms, side seating and balconies | Plan sightlines and matching image performance with the center screen |
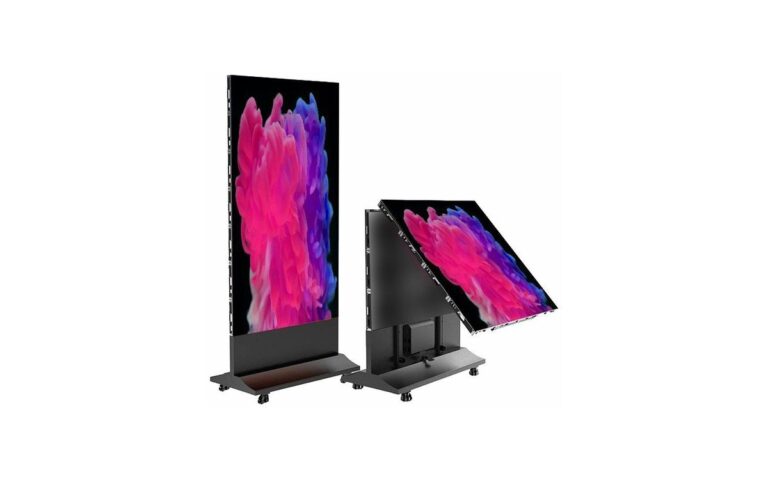
| Portable or stage screens | Events, conferences, youth services and temporary layouts | Multi-use halls or changing stage positions | Consider transport, setup time, protection and storage |
For installations where wall depth or visual weight is a concern, an indoor slim series may be worth comparing with standard fixed cabinets. The right choice still depends on room measurements, service access and the church’s long-term operating plan.
Screen types that work in worship venues
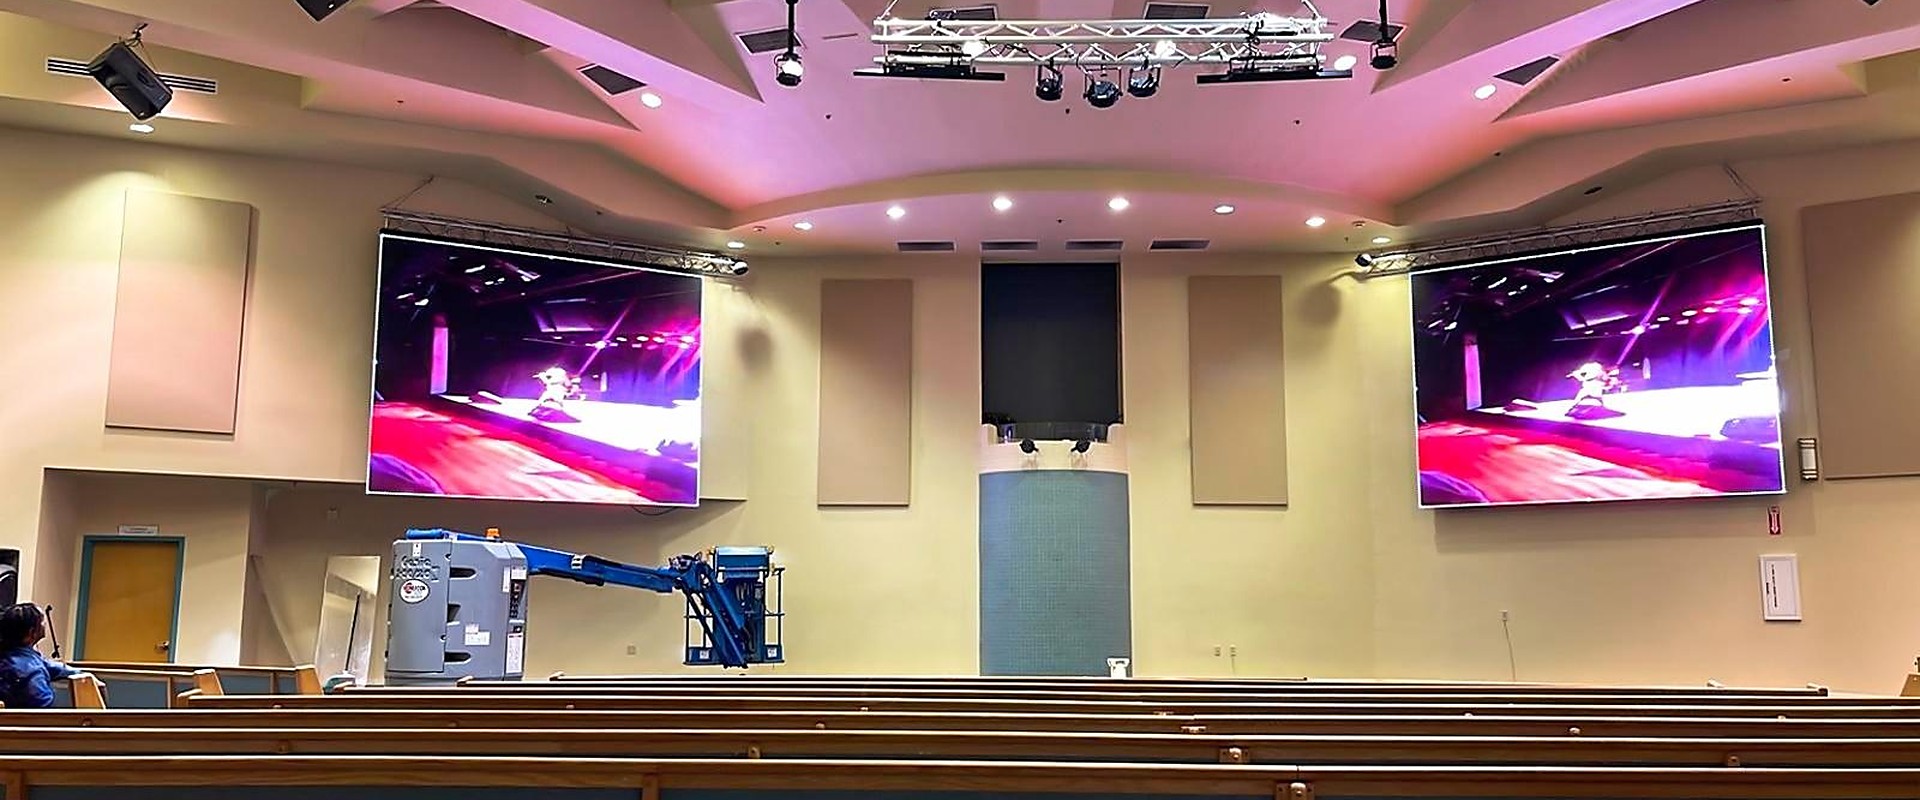
A center stage main screen usually carries the sermon, lyrics, scripture, video and presentation content. It should be visible from the rear seating area without making the front rows uncomfortable to watch. In many sanctuaries, a wide 16:9 layout is practical because it matches common video and presentation formats, but the final proportions should follow the room and the planned content.
Side or wing screens help people seated at an angle, behind columns or in overflow areas. They can mirror the main screen or show supporting information, such as lyrics, speaker images or camera feeds. Their size does not always need to match the center screen. Sightlines, viewing distance and the position of architectural obstructions matter more than visual symmetry.
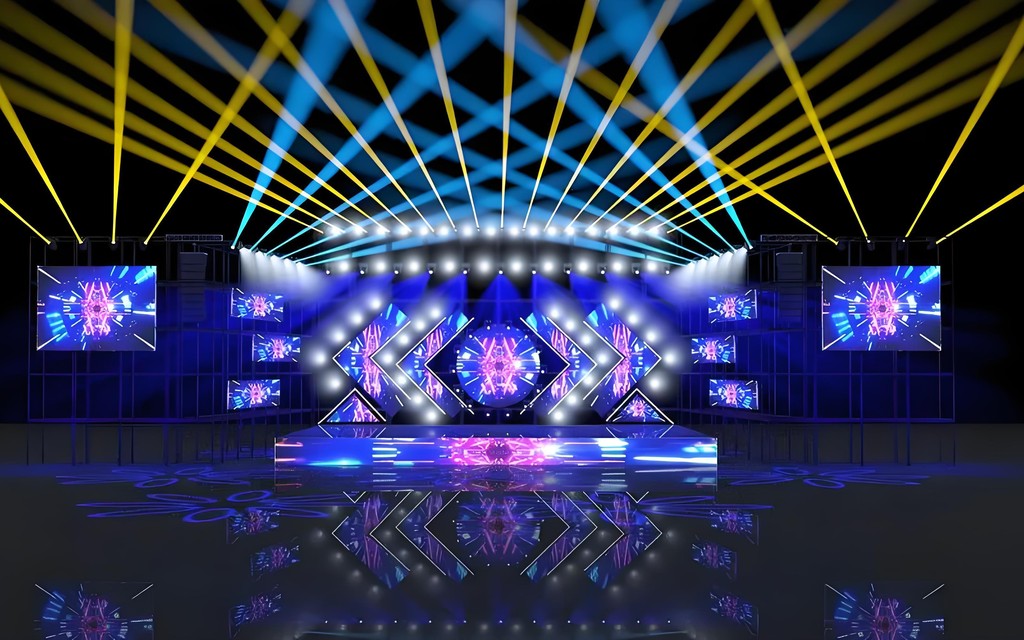
Stage backdrop screens are often selected for worship bands, choirs and live events. They can display imagery, camera shots or restrained motion backgrounds behind performers. Fine-pitch modules may be useful where musicians and cameras are close to the LED surface, while a larger pitch may be adequate for a deeper stage. Test the intended content before finalizing the specification.
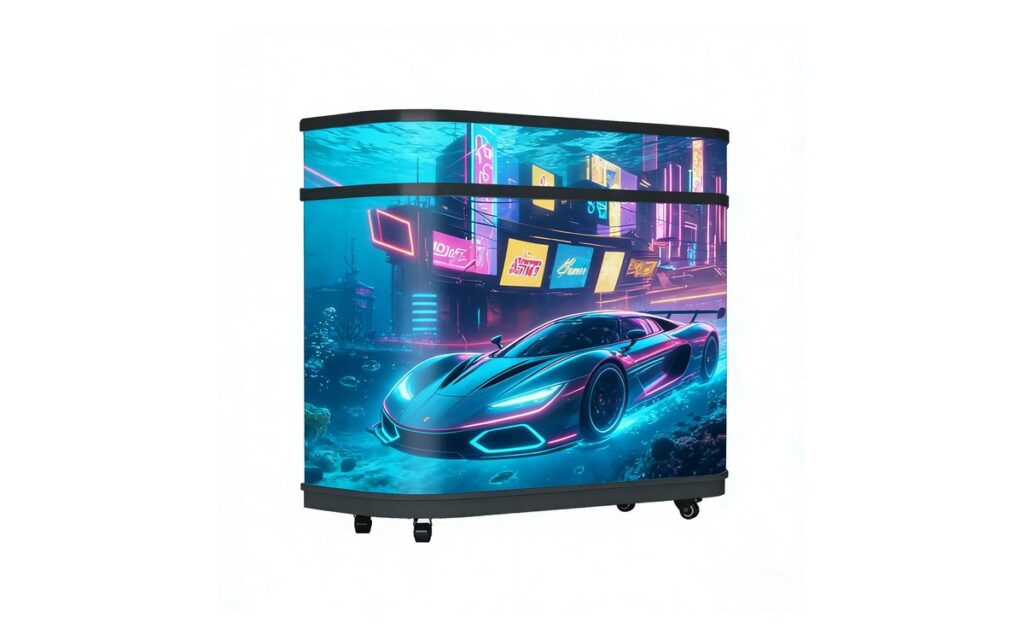
Portable or rental screens suit outdoor services, conferences, seasonal programs and venues that do not need a permanent installation. They may reduce permanent structural work, but the plan still needs to cover transport, assembly, weather protection, power and operating space. For event-specific decisions, see this guide to choosing rental LED displays.
Planning the install: structure, power and content
Start with the building, not the cabinet drawing. Check whether an existing wall can carry the screen, mounting frame and service loads, and ask a qualified local contractor to confirm the condition of the wall. For a truss installation, verify the truss rating, support points and permissible load distribution. Ground support may be preferable where the building structure cannot accept the required load or where the screen must be removed regularly.
Common mounting methods include wall mount, suspended truss and ground support. Each affects rear access, service clearance, screen height and the location of control equipment. Leave enough room for ventilation and maintenance, particularly when the screen is installed close to a wall or inside a stage structure. The installation drawing should show cabinet dimensions, frame details, access areas and cable routes.
Confirm the available electrical capacity before ordering. Identify distribution points, circuit separation, grounding requirements and the route from the power source to the screen. Keep power and signal cabling organized, protected and accessible. Product-specific electrical details must be confirmed against the datasheet and the final installation conditions.
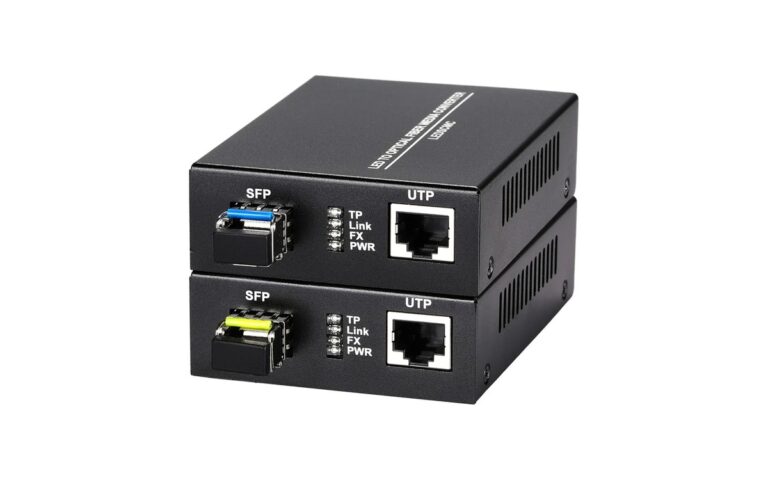
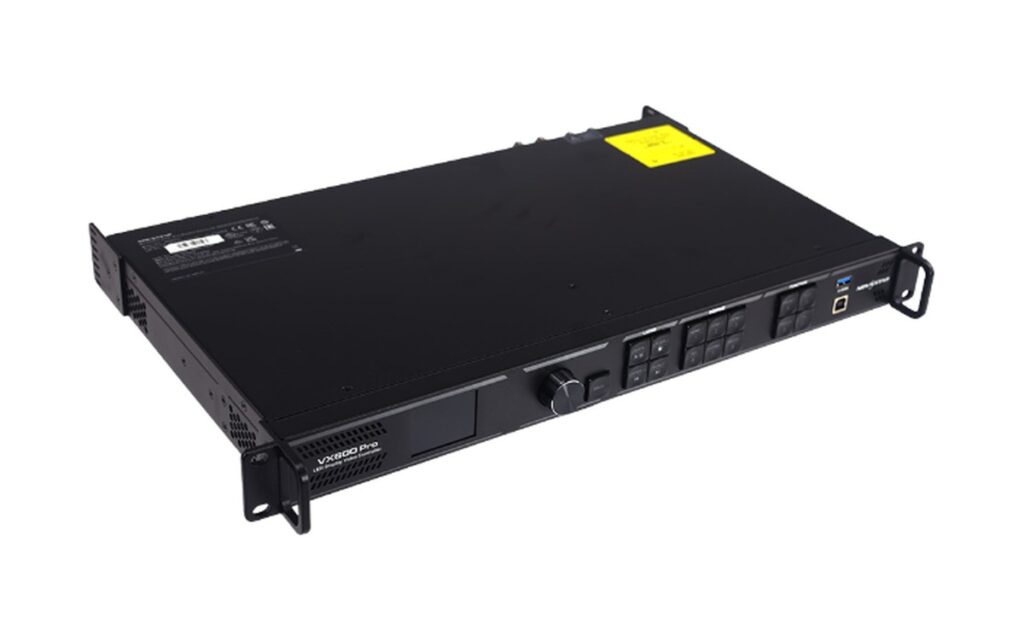
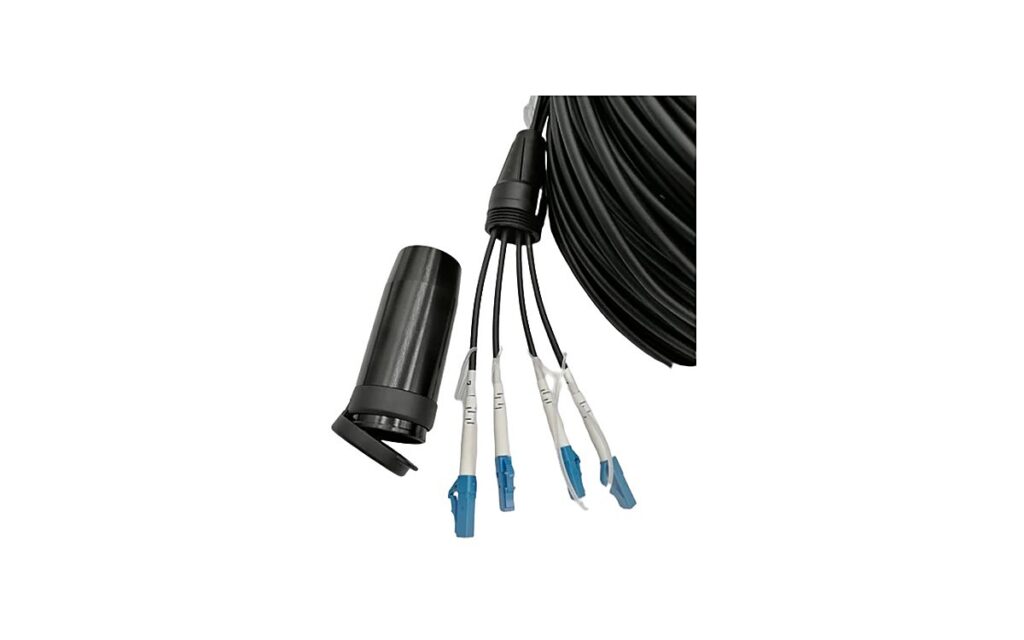
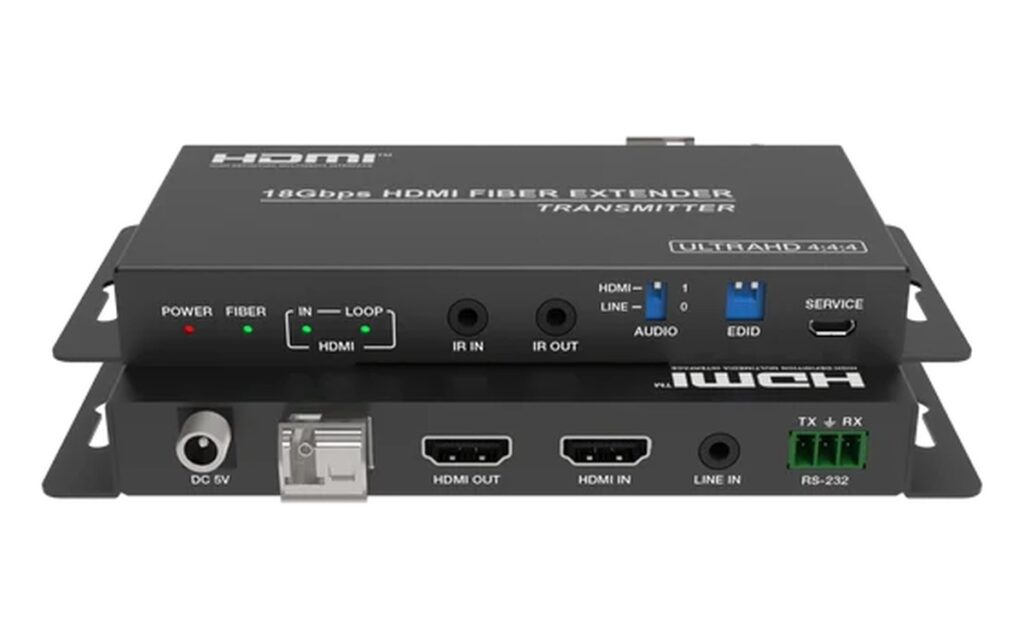
Behind the screen, the signal chain may include a video processor, sending devices, receiving cards, extenders, switchers and distribution equipment. Cable length, resolution, refresh requirements and the distance between the control position and screen all affect the design. Review the available AV control solutions early, especially when the church also uses cameras, confidence monitors, projection or multiple content sources.
Content planning is equally practical. Build templates around 16:9 content unless the screen shape requires another format. Keep fonts large enough for the rear seats, avoid busy backgrounds behind lyrics, and decide who operates the system on Sunday. A simple control workflow is often more useful than a complicated one that depends on one technically experienced volunteer.
Before installation, confirm:
- Screen position, viewing angles and service access
- Wall, truss or ground-support capacity
- Electrical supply, protection and cable routes
- Processor, source devices, signal extenders and cable lengths
- Content resolution, aspect ratio and operating procedure
- Installation responsibilities, drawings and documentation with the supplier
For supplier selection and documentation requirements, review this guide to choosing an LED display supplier in China.
Quick answers
There is no reliable size from seating capacity alone. Measure the distance from the screen to the furthest and nearest viewers, then review sightlines, text readability and available stage width. A configuration should also account for columns, balconies, camera positions and the aspect ratio of your sermon, lyric and video content.
Choose pitch according to the closest viewing distance, screen size, camera use and budget. A finer pitch is generally more suitable when people or cameras are close to the display, while a larger pitch can work from farther away. Confirm the practical viewing range and product performance against the datasheet before ordering.
Often, yes, but the wall must be checked for load capacity, condition, fixing points and service access. Masonry, steel framing and lightweight partitions require different solutions. A qualified local installer should verify the wall and mounting frame, while the display supplier provides cabinet weights, dimensions and installation requirements.
A sanctuary with controlled indoor lighting usually needs less brightness than an outdoor screen. Excessive brightness can distract worshippers and reduce camera image quality. The correct setting depends on ambient light, content and product design, so use the manufacturer’s recommended range and confirm brightness against the datasheet and commissioning conditions.
Not necessarily. A small team or trained volunteer can run a system with prepared lyric files, sermon slides and clear source selection. The important questions are who operates it, what happens if that person is absent, and whether cameras or multiple screens add complexity. Define the Sunday workflow before choosing control equipment.
A fixed screen suits regular weekly services and provides a consistent installation with planned cable routes and mounting. A portable or rental screen is more suitable for outdoor services, rotating venues and occasional events. Consider storage, transport, assembly, weather protection, setup time and the frequency of use rather than treating mobility as the only factor.
Cost is influenced by screen dimensions, pixel pitch, brightness, cabinet type, mounting structure, processing, power distribution, cabling, installation and shipping. Additional cameras, switching and control equipment can change the total substantially. Ask for an itemized configuration so the display, supporting equipment and site work can be assessed separately.
Send the room dimensions, seating layout, viewing distances, photos, intended screen position, content sources and any installation constraints. Include whether the project is fixed, rental or outdoor, and identify the operating location. LINEX Tech can review this information and prepare a display and AV configuration for discussion, with documentation for the project team.
Send your room dimensions, seating layout and clear photos of the proposed installation area for a practical configuration and quote from LINEX Tech. Include viewing distances, content sources and any wall, truss or power information already available.